29.04.2013

The Third Beanie / Den tredje lua

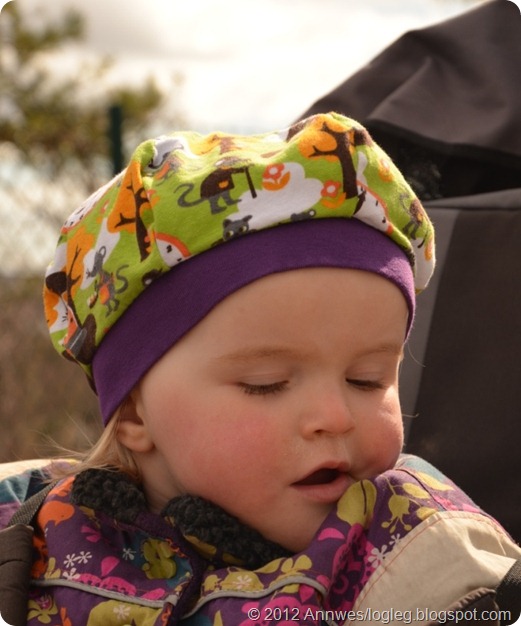
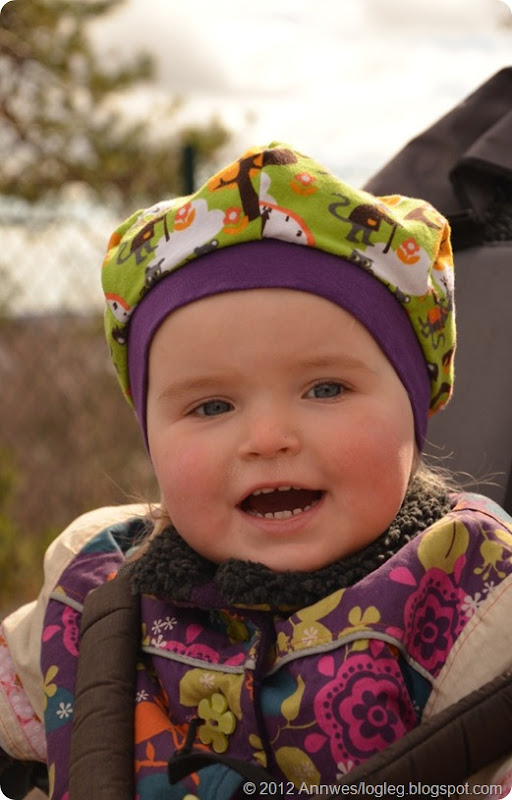
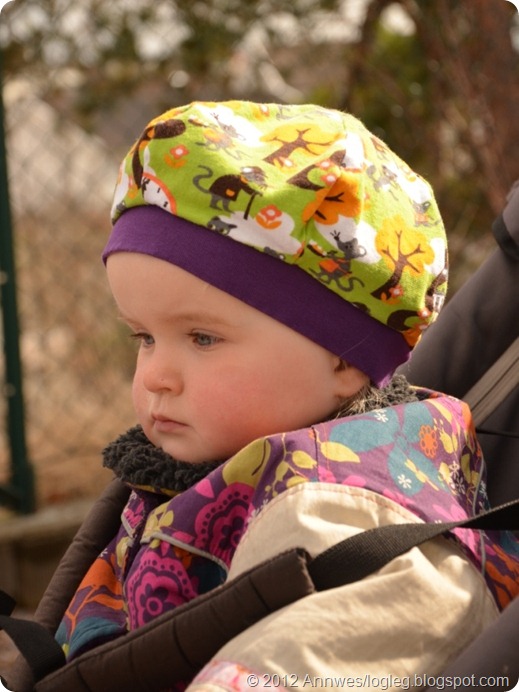
A few days ago, I blogged about a couple of beanies I had made, and I also mentioned a third one. Here it is!

hvordan sy en lue med vidde og ribbkant i jersey

hvordan sy en lue med vidde og ribbkant i jersey DIY / tutorial

hvordan sy en lue med vidde og ribbkant i jersey

The beanie is very easy to sew. It was a quick experiment that turned out to have a nice result, I think.  Cute!

This is what I did:

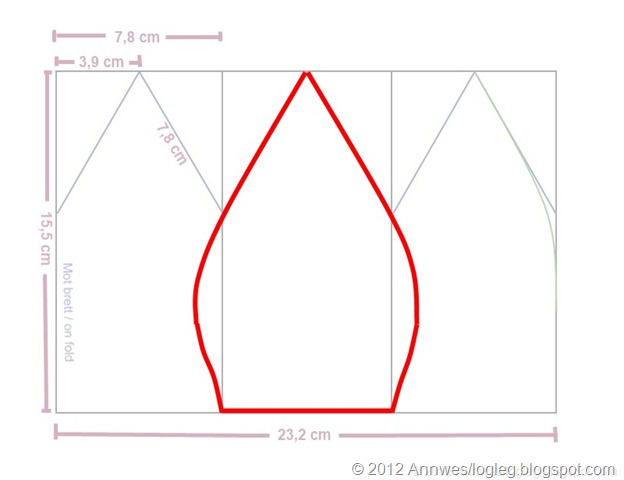
Here’s the sketch of the pattern for the other beanie, size 50 cm:

Skisse på luemønster for jerseylue til barn str. 50

I copied one of the columns by drawing from the top and downwards. but instead of drawing angles to make “a house”, I went on in the same oblique/skrå direction and then making a curve, like this:

Skisse på luemønster for jerseylue til barn str. 50, lue med vidde

I cut six panels and stitched them together. Then stitched the rib band to a circle, folded it/ironed it lengthwise and stitched it to the beanie.

Instead of having a 2 cm wide rib band (finished width), I made it 3 cm wide. I also made it a little bit shorter than the rib in the other beanies, 85% of head circumference using Stoff og Stil-rib. That gives length 42,5 cm without seam allowances.

Fabric: Jersey from textart.no (designed by Johanna Ahlard). Rib from Stoff og Stil.

By the way: Here is a photo of our little girl trying the second beanie at the end of the photoshoot. Guess what happened next, haha…

28.04.2013

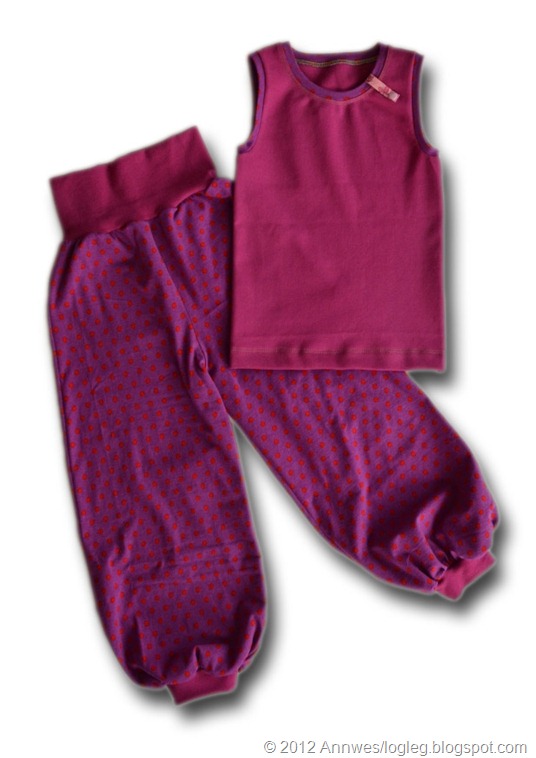
Sleeveless top and baggy pants

Sleeveless top with jersey edges and topstitch

Baggy pants pattern made from a modified trouser pattern using Armstrong's method.

Men først, nokre tanktar… I går pakka eg alle stoffa mine ned for flytting. Eg tør ikkje seie kor mange flyttekasser det bli, det er litt for pinleg… Marknaden for flotte klesstoff har jo berre blomstra dei siste nokså få åra, og så har også stofflageret til mang ein hobbysyar også. “Åaa, så stilig eit stoff, berre mååå ha det!” Nokon som kjenner seg att? ;-)

Mange spør om det lønner seg å sy sine eigne klede. Eg brukar å svare at det nok lønner seg om ein berre ser på materialkostnadene til kvart enkelt plagg. Men for kvart plagg eg syr, har eg stoff til fem plagg på lager (anar ikkje kor mange plagg, eigentleg). Og utstyret kostar. Og alt tilbehøret som kjøpast inn. Så nei, det lønner seg ikkje.

Men så handlar deg heller ikkje om å spare pengar, sjølv om dét å spare pengar ikkje er å forakte. Men det handlar om å lage noko, skape noko, og å bli i godt humør av det. Og det er ein måte å slappe av på i ein travel kvardag. Av og til tenkjer eg at eg er heldig som har ein rekreasjons-måte som er nyttig for noko.

I tillegg til at barna mine går i heimelaga klede, vil dei også at eg syr klede til bursdagspresang når dei skal i bursdagsselskap. Det er noko som eg som mor aldri kan ta for gitt, og eg er takksam for at dei set pris på det som er heimelaga.

Om du også har saum som hobby, kva set du pris på ved hobbyen?


But first, some thoughts… Yesterday I packed all my fabrics into boxes. I won’t tell how many IKEA boxes in total, it is a little bit too embarrassing, I think… In only a few years, the apparel fabric market  in Scandinavia har flourished, and so has the fabric stock of many a home seamstress too. Anybody else having it that way? “I just looove that fabric, got to have a piece of it”…

People often ask me if it pays off to sew your own clothes. I use to reply that if you calculate only the stuff used in a single garment, it often pays off (assumed no salary for sewing clothes to yourself). But; for every garment made, I have fabrics in storage for perhaps five (??) garments. The machines cost. Lots of notions/tilbehør. So no; it doesn’t pay off.

But it was never about saving money, even though saving money is nice. It’s about making something and be happy about it. Creation and recreation. Sometimes I feel fortunate that my way of recreation happens to be useful.

Not only do my children wear home-made clothes themselves, but they also wants to bring home-made clothes for presents when going to birthday parties. A mother can never take that for granted, and it makes me grateful that they appreciate what’s home-made.

If you sew, what do you appreciate about your hobby?

My four-year-old needs summer clothes, and this set was made for her on my “birthday in the sewingroom” 1,5 week ago. Quick and easy garments.

Baggy pants pattern:

I have written about the pattern for the baggy pants earlier in this post. The pattern is a modification of a trouserpattern with rib around the ancles (type joggebukse). With intructions from Armstrong’s book, I lowered the crotch/skrittet about 1”/2,5 cm (I think maybe this is a little bit too much). Then I cut the pattern along an imaginary/tenkt sideseam and spread the patternpieces 2”/5 cm before tracing around it to make one single pattern-piece without sideseam.

But after drawing the pattern and tried it out, I found that the pants were too wide on the top, below the waistband/nedanfor livet. So I tried to stitch a sideseam that removed the 2”/5cm at the top, then running stitching a sideseam starting where the original (imaginary) sideseam, going in a slightly oblique/skrå direction downwards (follow the link above for illustration), and that works very well. As it is quicker to cut one large piece than two small, I still cut the pants using the first, too wide baggy pattern, and then modifying it with a sideseam.

Rib at ancles: The baggy pant legs are wider than the rib is able to stretch. I solved this by stretching to the maximum and making some additional folds with my fingers as I sewed (I use the overlocker).

The top:

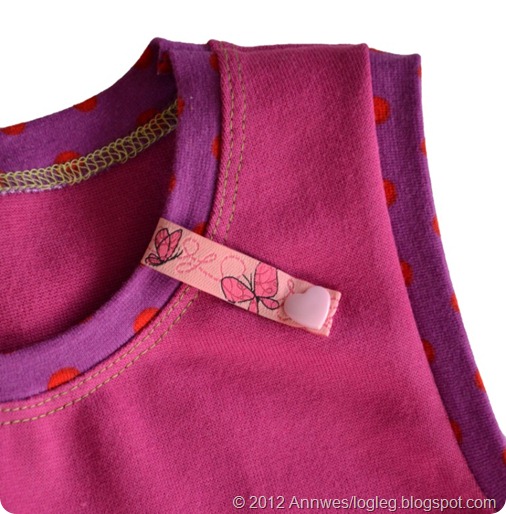
The edges on the top are made of the single jersey, same as I used in the pants. I cut a 4 cm wide band and pressed wrong side to wrong side lenghtwise. After stitching one shoulderseam, I stitched it right sides facing to the top’s neckline, pulling from almost nothing to as much as I could, depending on the curves (I pulled most in the little curves right behind the shoulderseams). The topstitch using the Coverpro stabilizes the neckline. But since I stretched the fabric very much when stitching it, I guess it is best used on garments with a quite wide neckline (so you don’t need to stretch it very much to get it over your head). I forgot to topstitch the arm openings…

The little detail with the ribbon and heart button is an idea to fell into my mind, I’m not sure how it will work in the washing machine. The ribbon is only attached with the buttin, maybe I’ll have to place a few stitches there too?

---------------------------------

What a long post, *phew*, soon time to stop ;-)

Fabrics and notions: Pants: Jersey from Textart.no, rib from Stoff og Stil. Top: Made from the same rib (stretch jersey) from Stoff og Stil, edges from the jersey from Textart. Ribbon from Farbenmix.de. Heart button from KAM.

24.04.2013

Beanie Time! / Lue-tid!

Right now, I’m in Oslo on a business related travel, and yesterday I had a look at the house that soon is going to be our new home. As a bonus, there was a room in the basement that I think could be used as a sewing room, yippi!

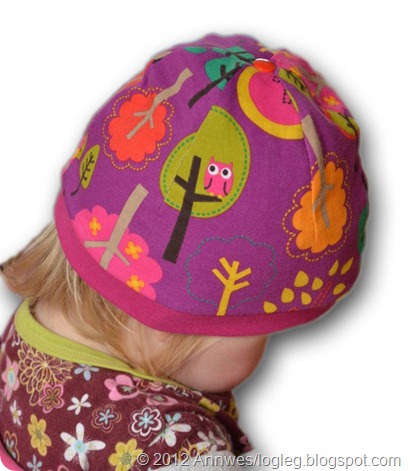
Before I left for Oslo, I made a beanie for the youngest girl. Three, actually, but I have only got picture of her wearing the first one:
How to sew a children's beanie /hat with a ribbing band

Besides the need of a new beanie/hat, I also took the opportunity to review my “baby hat tutorial” from last year. You can find the tut here: Baby hat tutorial.

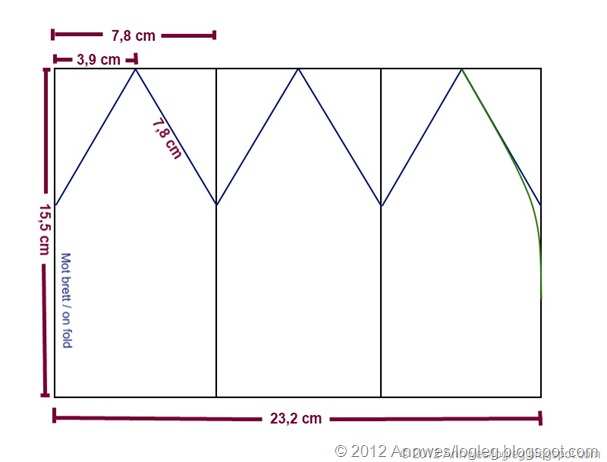
Maybe it’s best to show the pattern first, well,  a sketch of the pattern (you can not print this and get the actual pattern, the proportions are not right!)

Child’s head circumference 50 cm:
How to sew a children's beanie /hat with a ribbing band

All measures are without seam allowances. I cut both shell and lining on fold from single jersey.

In addition, I cut rib band (from Stoff og Stil): 44,5 cm x 6 cm, included 1 cm seam allowances. (Makes a 2 cm wide finished rib band)

So, back to the beanie on the picture above: It fits very well, except for one thing; it has a little bit “conehead-shape”, and that’s because I let the overlocker cut a little bit too much in the curves:
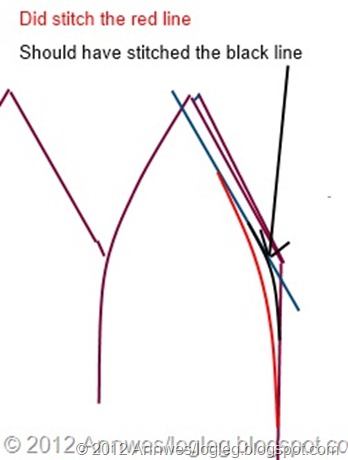
How to sew a children's beanie /hat with a ribbing band

Here’s a photo that shows the shape. When it’s a little too narrow in the top, the hat tends to pull it self upwards.
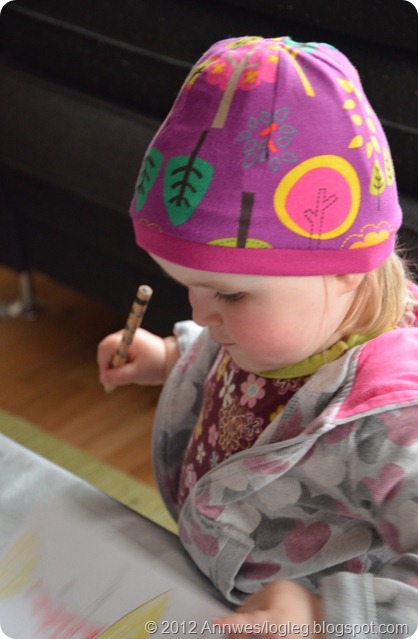
How to sew a children's beanie /hat with a ribbing band

So I made one more, and this time it got a more rounded shape. The little girl was just about to fall asleep when it was finished, so I couldn’t bother her. And the next day, there was no time for photoshoot… So here the hats stands by themselves on the table:
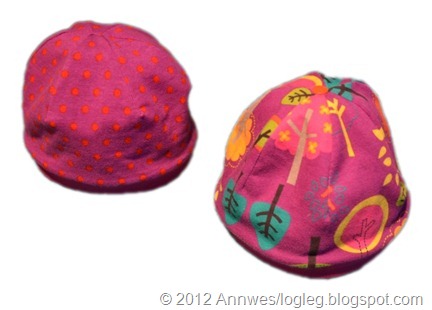
How to sew a children's beanie /hat with a ribbing band

So what do I think about this design?

First: Next time I make a hat for the youngest girl, it will have a tie band/knyteband!

I like this design, but I’m afraid it’s not very flexible regarding size. When using a rib band as narrow as 2 cm, the rib band is situated below the widest part of the head, and therefore the rib band tends to  pull the hat downwards. And that’s great! It prevents the hat from falling off. But, what if the hat is just a little bit too big? Then the rib band pulls the hat down into the eyes. At least that was the experience last year. So, basically it’s a great hat –when it fits.

So why don’t the regular beanies (dei vanlege luene) without rib, like the type Kokalal makes, fall down into the eyes? That’s because they are typically tightest around the widest part of the head, not below the widest part. Therefore, the beanie doesn’t need to have exact heigth to fit, and that makes it’s more flexible. That’s a major advantage if you sew for sale or for gifts and cannot try the beanie on!

But I have a plan for this model :-) Next beanie in this actually quite traditional design with six parts in the top will have a wider rib band, let’s say four cm wide instead of two.

Did I mention that I made three beanies a few days ago? The third one is based on this pattern, but is a kind of a baskerlue (don’t know the english name…). I haven’t tried it on yet, and am excited to see how (if) it works when I get home!

Fabrics in this post: Patterned jersey from Ixat, polka dot jersey from Textart.no. rib from Stoff og Stil. Byt he way, I placed a long prong KAM snap at the top to connect the shell and lining.

Just before I say goodnight: A last photo for Grandma and uncle Hallvard:
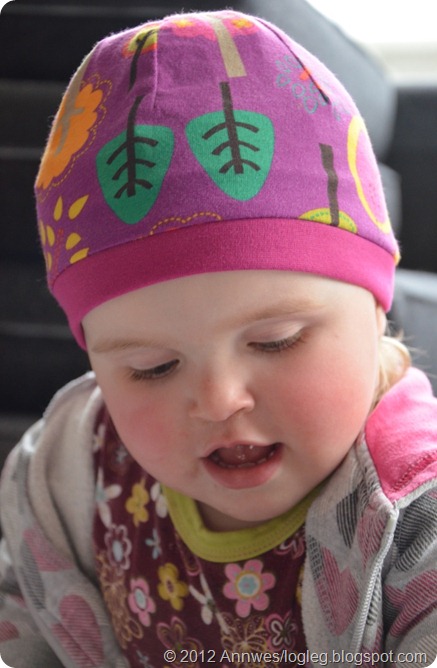
23.04.2013

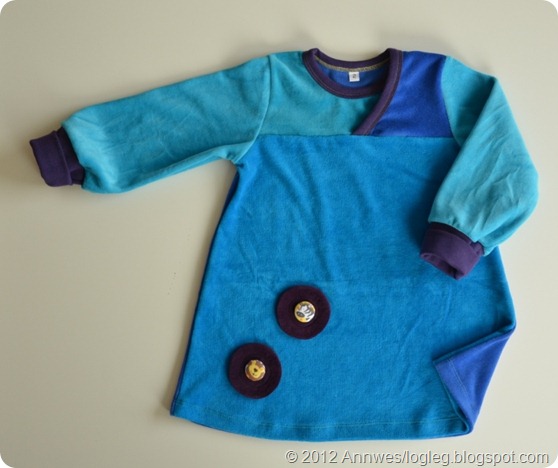
I want to make more of these…

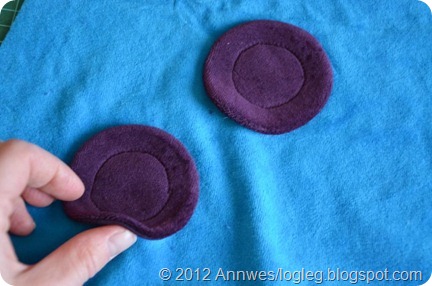
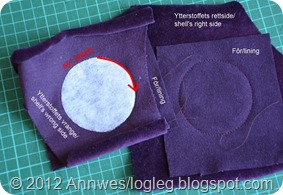
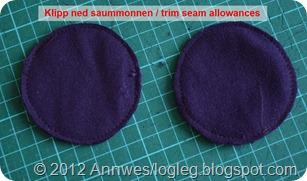
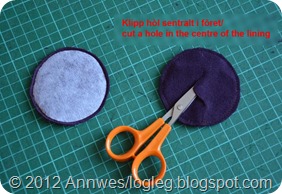
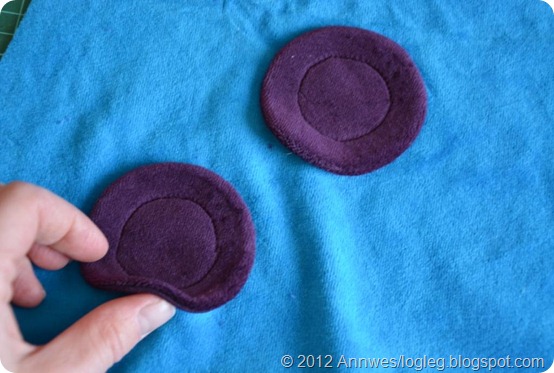
How to make appliques with liningWe’re about to move to Oslo, in a month or so. I have to pack my sewing stuff *Man, a whole month without sewing…* This week’s blog posts are about things already made. This post will actually be a memo for myself, I want to make more of the type of decor (vrangsydd dekor) in the former post!

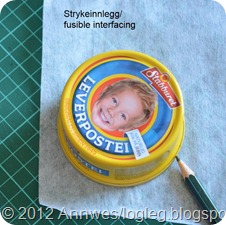
This is what I did (click on images to enlarge) (norsk tekst på bileta):
Next time: Different shapes and sizes!! A baby elephant, perhaps? Or a fish! I think it will be soooo cool, making appliques with lining!  Anyone want’s to try it out? Or have tried it already, I can’t imagine I’m the first one in the world to do something like this?!

Fabrics: Velour and rib (Stoff og Stil). Fusible interfacing: Cheapest there is…

18.04.2013

RUMS! (?)

I have discovered a german blog that have events called Rums. I’m not sure I have understood the whole concept, something about showing that day something you have made, or something like that. I think that I could give it a try! And to my norwegian/scandinavian blog readers; if you visit the Rums-page, you can find a lot of links to great, inspiring german blogs!

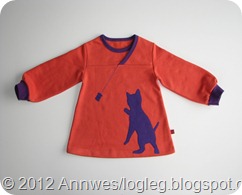
I made this tunic yesterday for my 20 months old daughter. It is based on a pattern from Ottobre Kids 1/2009, design no. 5, but I have changed the neckline to a “No. 9 neckline”. The dots on the skirt is inspired by Sjeroks'lovely pants, I recommend a visit to her blog!

DSC_0317

DSC_0310

I haven’t got the time to show you how I madethese dots, but I have photos to show later if anyone is interested :-)

17.04.2013

Birthday in the sewing room!

Early in the morning, 35 years ago, I was born in a little hospital in Oslo. The sun was shining and the birds singing. The midwife was humming a happy tune, and I smiled as I made my way out.  Or somethingn like that. If nothing else, I know that I was born early in the morning in Oslo!

This happened to be my day off this week, and there was no doubt what to spend it on: Sewing! The only plan I had, was to add something to the children’s wardrobes, they’re in need of  new clothes. One advantage of sewing the children’s clothes yourself, is that you can choose models that grows with the child, for example by using rib around the ankles on the pants. And sometimes the garment is used even when it doesn’t grow anymore: My eldest child uses a sweather that ends 3 cm above the wrist and the rib is worn out, but he wants to use it anyway! It makes me happy and proud that he loves  the clothes I’ve made that much, but at some point, he has to get some new ones. The first new one, I finished today:

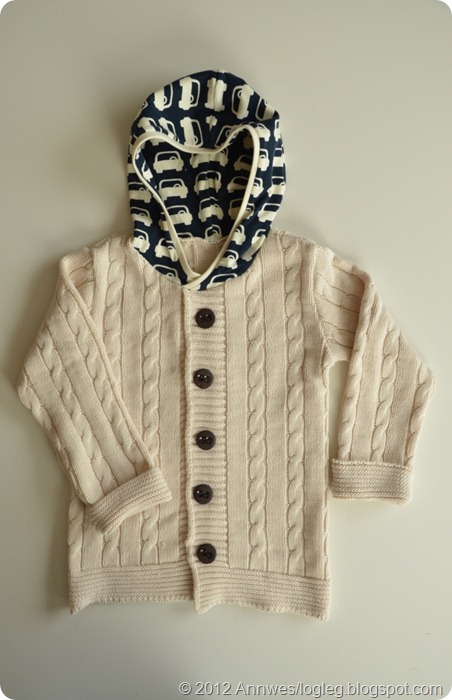
Pullover made from a blanket

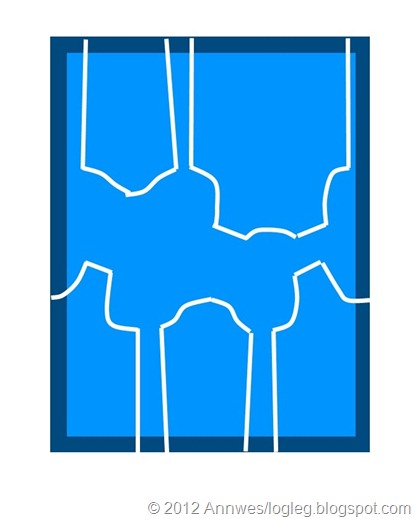
It looks like a jacket, but is, in fact, a pullover. It’s actually made of a blanket from “Kid”, and the edges are not stitched on, but just used as they were on the blanket. (On the picture I have folded the sleeves, because they seemed to be quite long.) I cut out the pieces like this:

blanket pullover

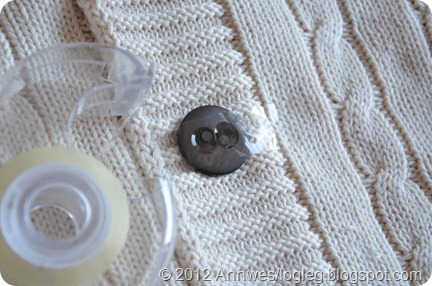
The buttons have no function except holding the two front pieces together. It is very easy to sew on the buttons when you attach them to the fabric using tape first.

Å sy i ein knapp blir mykje enklare når du festar den med tape fyrst!

I learned this brilliant trick from Shamu some years ago, and it has been of great help!

Other fabric/notions: Jersey in the hood from Stoff og Stil. Buttons from Textart.no.

This pullover was almost finished before starting the sewing day. I also made a tunic and three beanies for the one-year-old, and pants, tights and a singlet for the four-year-old. Perhaps some of it will turn up here on the blog tomorrow? But now: Good night!

15.04.2013

Return to the “No 9-Neckline”

It’s been a while since I made a lot of these, and maybe it’s time to reflect upon it a bit. But first, I want to show you the last item:

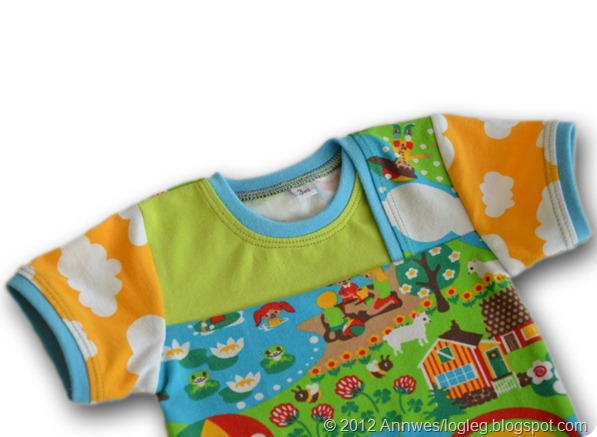
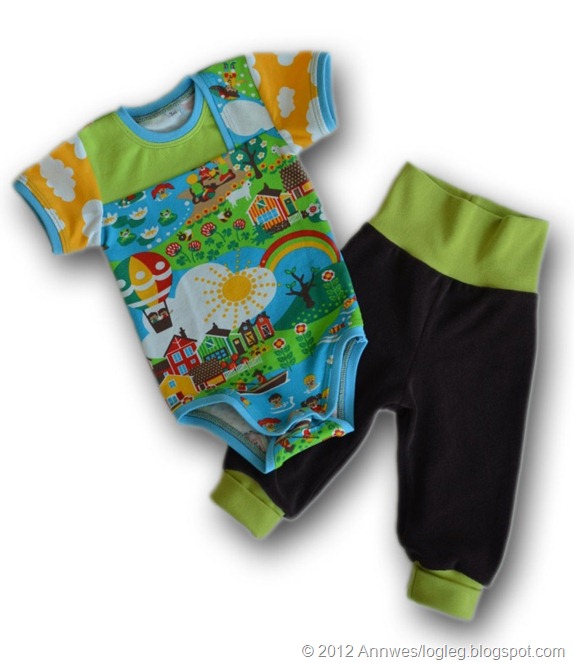
No.  9 neckline, nitals-opning by Annwes, Løgleg saum, logleg.blogspot.no


No.  9 neckline, nitals-opning by Annwes, Løgleg saum, logleg.blogspot.no

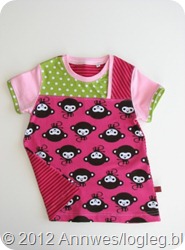
I love this neckline design, if I may say so, having designed it myself :-) (I’m not at all a professional designer.)Perhaps most of all because it lets me combine a lot of different fabrics (typically five, on this garment four). Then I can make fun, colourful clothes! And I like the compromise between function (large neckline opening for a small child’s head) and the esthetic side of it.

It is also a challenging design to use, for better or worse. I guess it’s pointless to proceed with my little evaluation without explaining how the neckline is actually made.  I made a tutorial in 2011, if you don’t understand norwegian, and Google translate doesn’t work well, I think you can understand much from the pictures.

Trying to summarize what’s important when sewing it, I think it is that the edge running like the number 9 is not too loose, (nor too tight, I told you it was challenging…). You need a fabric that not only stretches well, but also regain its shape easily. In my experience, rib fabric works best. I’ve tried interlock,  single jersey and velour knit with various results (especially the last is not recommended). A drawback to the design, is a tendency that the shoulder flap on the front piece rolls/turns inwards like this:

No.  9 neckline, nitals-opning by Annwes, Løgleg saum, logleg.blogspot.no

I’m not sure I have a solution to that problem yet, other than making sure the edge is not too loose. It’s like wearing a skirt that rotates around your waist as you walk: I go tickling my children’s necks all the time, as I put the edge back in place (ehh, “all the time”; it’s not really that big problem…) Sometimes I think that it would be easier if I placed a snap on the binding at the left shoulder to prevent rolling of the edge, but that would kind of ruin the whole idea about the design. Having said that, if some of you makes a garment with this design and finds it better to place a snap there, I won’t criticize :-)

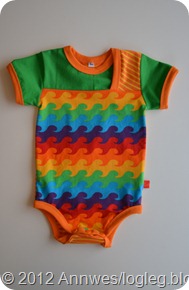
The bodysuit in this post:

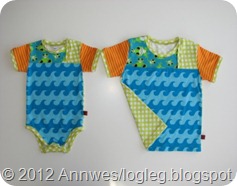
The binding on this body (size 3 months) is not made with a binder on the coverstitch machine, but by stitching a double folded rib band, right sides facing (rette mot rette), with the overlock serger.  It turned out to be a little bit too tight, wrinkling/pulling the fabric together, but when I topstitched along the neckline with the coverstitch, the fabrics were stretched out ok. Twin needle on the sewong machine would have done the job too.

In most cases, I have used different fabrics over the tummy and the back, but this time, I used the summer fabric on both sides. It’s been a while using the design, and I forgot that the design on the back piece overriding the front piece us turned almost upside down... I guess that the little boy on the left shoulder can say hello to the baby’s older sister when baby’s being nursed ;-) When using a fabric that can’t be turned upside down, like the fabric on the picture above, it’s of course possible to split the back pattern into two pieces, having a seam at the shoulder.

A little boy with an umbrella, upside down on the shoulder. Summer fabric designed by Johanna Ahlard. Sewn by Annwes.

Fabrics: Jerseys from Malika og Rosa (main fabric), Stofstedet.dk (green), JNY Design (clouds). Rib bought in Denmark somwhere. The pants are made of sommerfrotté/ thin stretch terry fabric. Bought from Jydsk stoflager (living at or visiting Jylland? A visit to this shop is recommended!)

Terms of use:

If you feel challenged (not only warned ;-), and want to try the No. 9 neckline/“Nitals-opning”, feel free, I’m honored! It is a registered design i Norway, but if you want to sell garments in small scale (hobby-basis), I won’t mind. (Commercial use? Contact me…)

You’re very welcome to place a comment with link to show the garment you’ve made :-) Some have already done that, thanks a lot!:
-Einfach Ena here and here
-Stine S here

Want to see more garments with this type of neckline?
My garments are found under the label “Nitals-opning by Annwes” HERE.

Here is a little gallery of most of them:

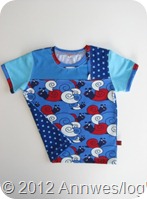
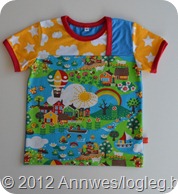
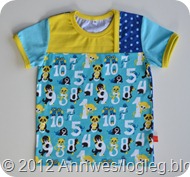
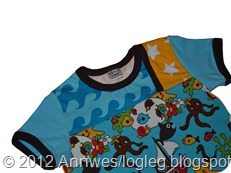
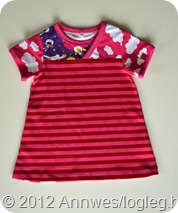
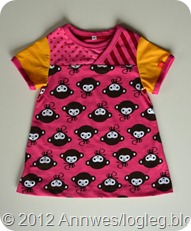
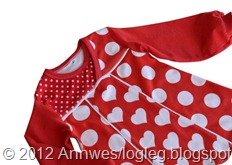
No.  9 neckline, nitals-opning by Annwes, Løgleg saum, logleg.blogspot.no No.  9 neckline, nitals-opning by Annwes, Løgleg saum, logleg.blogspot.no No.  9 neckline, nitals-opning by Annwes, Løgleg saum, logleg.blogspot.no
No.  9 neckline, nitals-opning by Annwes, Løgleg saum, logleg.blogspot.no No.  9 neckline, nitals-opning by Annwes, Løgleg saum, logleg.blogspot.no
Related Posts Plugin for WordPress, Blogger...